
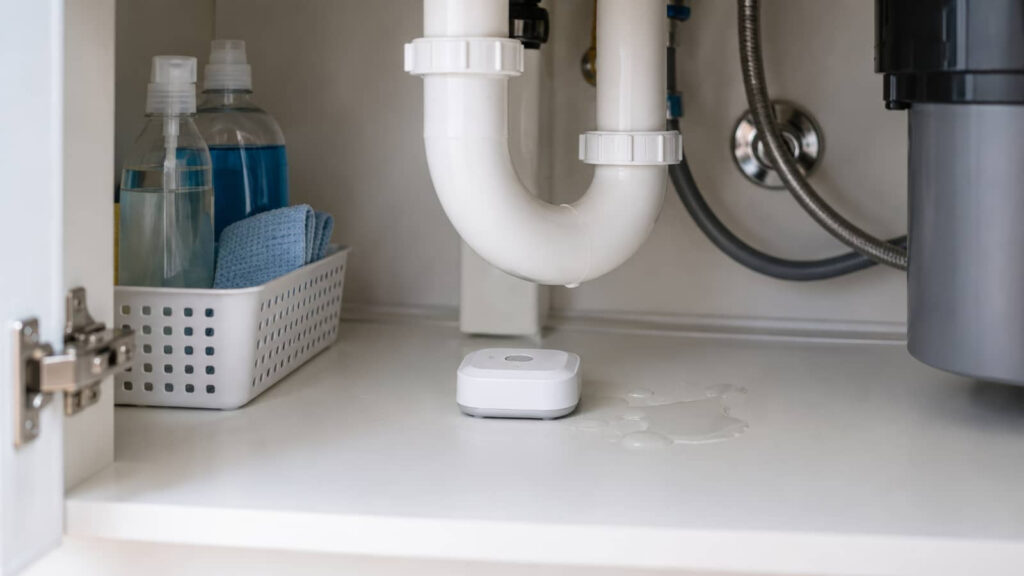
If you’re facing water damage, you need to act fast but carefully. First, stop the water source and shut off power before you enter the area. Then remove standing water, check for hidden moisture, and begin drying affected materials right away. You also need to clean and disinfect surfaces with the right products. The biggest question is what’s still trapped behind the walls.
Key Takeaways
- Shut off the water source and electricity immediately if water reaches outlets, wiring, or appliances.
- Wear protective gear and remove standing water quickly using towels, wet/dry vacuums, or pumps.
- Clean hard surfaces with mild detergent and approved disinfectant, following label instructions.
- Check for hidden moisture, mold, and damaged materials with a moisture meter or visual inspection.
- Call a professional for contaminated, widespread, or hidden water damage, and monitor drying afterward.
Stop the Water Source Fast
Before you do anything else, shut off the water at the nearest valve or the main supply if you can do so safely.
Then identify the water source and verify that flow has stopped. If a fixture, hose, or appliance is leaking, close its dedicated shutoff valve.
If you can’t isolate it quickly, call a plumber or building maintenance right away. A quick response limits spread and reduces structural damage, mold growth, and cleanup time.
Keep a towel or container under minor drips while you work, but don’t delay the shutoff attempt.
Check adjacent rooms for active seepage so you don’t miss hidden pathways. You’re not handling this alone; careful, fast action puts you back in control and helps your home stay safer.
Shut Off Power and Stay Safe
If water has reached outlets, appliances, or exposed wiring, shut off power at the breaker panel immediately, but only if you can reach it without stepping through standing water.
If you can’t get there safely, call an electrician or utility professional right away.
Keep your hands dry, wear insulated footwear if you must move near affected areas, and avoid touching metal fixtures, cords, or switches.
Treat every wet circuit as energized until proven otherwise.
After the power shutdown, don’t restore power until a qualified person confirms electrical safety and checks for damage.
Stay with your team, communicate clearly, and mark the area so others don’t enter.
Your caution protects everyone and keeps the cleanup process controlled, safer, and ready for the next step.
Remove Standing Water Safely
Once the area is electrically safe, remove standing water as quickly as you can to reduce further damage and mold growth.
Wear boots, gloves, and eye protection before you start. Use a wet/dry vacuum, sump pump, or buckets, depending on the depth and access.
Work from the highest point toward the exit so you don’t track water back into cleaned areas. If you use power tools, keep cords dry and follow the manufacturer’s instructions.
Empty equipment often so it keeps working efficiently. Place removed water outside, away from the structure.
Use gentle, steady movements to avoid splashing contaminated water. These water removal techniques help you regain control fast, while consistent safety precautions keep you and your household protected during cleanup.
Check for Hidden Moisture and Mold
Use a moisture meter and inspect concealed areas such as baseboards, wall cavities, under flooring, and behind cabinets for dampness that isn’t visible at first glance.
Look for discoloration, musty odor, warping, or peeling materials, since these often indicate hidden moisture and early mold growth.
If you detect suspect areas, mark them and dry them promptly, or arrange professional remediation if the damage is widespread.
Detect Hidden Dampness
Where should you look when the visible water is gone? Start with moisture detection around baseboards, under sinks, behind appliances, and inside closets.
Feel along trim and drywall for cool, soft, or swollen areas, and note any dampness indicators like peeling paint, warped flooring, or a musty odor. Use a hygrometer or noninvasive meter to compare suspect spots with dry rooms, and check corners, seams, and insulation pockets where water can linger.
Lift access panels if you can do so safely, and inspect crawlspaces, attics, and cabinet backs.
If readings stay elevated, increase airflow and keep the area isolated until levels drop. You’re protecting your space and helping your household stay informed, calm, and connected while you verify that hidden dampness is truly gone.
Spot Mold Growth
If hidden moisture lingers, inspect for mold right away by checking damp surfaces, corners, and enclosed spaces for discoloration, fuzzy growth, or a slimy film.
You should use a flashlight and a mask, then document every suspect area before touching it. Lift baseboards, open cabinets, and examine behind appliances, because mold often hides where air moves poorly.
If you find growth, isolate the area, stop using fans that may spread spores, and keep others out.
Follow mold prevention tips by drying materials quickly, removing porous items that stay wet, and lowering humidity below 60%.
Protect indoor air quality by ventilating safely and filtering the air after cleanup.
If the patch is larger than you can manage, call a qualified remediation team.
Dry Out Walls, Floors, and Contents
You should start drying walls with controlled airflow, dehumidifiers, and, if needed, selective removal of wet baseboards or drywall so moisture can escape.
For floors, you need to remove standing water, lift wet rugs or pads, and use fans and extraction tools to dry the surface and subfloor.
For contents, you should separate salvageable items, wipe or rinse them as appropriate, and dry them in a clean, well-ventilated area.
Wall Drying Methods
After you stop the water source, begin drying walls, floors, and contents as quickly as possible to limit swelling, mold growth, and structural damage.
Check the wall materials first: drywall, plaster, and wood each dry at different rates, so you’ll need to choose drying equipment that matches the loss.
Remove baseboards if they trap moisture, then open wall cavities only where needed to let air move through.
Position air movers to push dry air across the wall surface, and use dehumidifiers to pull vapor from the room.
Keep the area closed and monitor humidity, temperature, and moisture readings until levels stabilize.
If you belong to a team handling the cleanup, log each reading and mark wet sections so everyone works from the same plan.
Avoid heat that can warp, crack, or spread damage.
Floor And Item Drying
Once the walls are drying, shift your attention to the floor and any contents that took on water.
You’ll want to remove rugs, pads, and movable furniture, then elevate items on blocks so air can circulate beneath them.
Use fans and a dehumidifier to keep moisture moving out of the room, and check hidden areas under baseboards, cabinets, and appliances.
If you have hardwood, monitor cupping and swelling; if you have carpet, pull back edges to inspect the pad and subfloor.
Don’t trap damp materials against the surface.
Sort salvageable items from those needing item replacement, and document damage for claims.
If the subfloor stays soft or stained, plan for floor repair before reinstalling finishes.
You’re not doing this alone—careful drying protects your space and your crew.
Clean and Disinfect Damaged Surfaces
Start by removing any remaining debris, then wash hard surfaces with warm water and a mild detergent to lift dirt, silt, and residue left by the flood. You’ll protect your space and your crew by moving methodically through each area.
For reliable surface sanitization, rinse first, then apply one of your approved disinfectant options exactly as labeled.
- Wear gloves, eye protection, and a mask if spray may aerosolize.
- Test a small hidden spot to confirm the finish won’t stain.
- Keep surfaces visibly wet for the full contact time.
- Rinse food-contact areas with clean water after disinfection.
Work from the cleanest area to the dirtiest, changing cloths often so you don’t spread contaminants.
If a surface stays tacky or discolored, repeat the process before moving on.
Handle Black Mold the Right Way
Black mold needs immediate, careful handling because it can spread quickly and pose health risks. You should isolate the area, close HVAC vents, and keep others out while you inspect the growth.
Wear gloves, an N95 respirator, and eye protection before you begin safe removal. Lightly dampen affected materials to reduce airborne spores, then remove only nonporous items you can clean thoroughly.
Bag contaminated debris, seal it, and wipe surrounding surfaces with detergent and water. Don’t dry-scrub or disturb hidden colonies behind walls.
Track moisture sources, because mold prevention tips work only when you fix leaks and keep humidity low. If you share the space, coordinate calmly and methodically so everyone stays protected.
Afterward, dry everything fast and monitor for recurrence.
Call Water Damage Pros When Needed
If the damage is widespread, the water is contaminated, or you suspect hidden moisture in walls, ceilings, or flooring, call a water damage restoration pro right away. You’ll protect your home and keep your crew safer by acting fast.
Request a water damage assessment before any demolition.
Confirm moisture readings in framing, insulation, and subflooring.
Ask about containment, drying equipment, and antimicrobial treatment.
Verify the plan for professional restoration and insurance documentation.
You don’t need to manage complex drying alone. A qualified team can map the loss, isolate hazards, and coordinate next steps with you.
That support helps you stay confident, avoid missed damage, and return your space to normal with less risk of mold, structural decay, or costly rework.
Frequently Asked Questions
How Do I Document Water Damage for Insurance Claims?
Document water damage by taking dated photos, listing affected areas, and recording moisture readings. Complete a water damage assessment, then organize insurance claim documentation, receipts, and contractor notes so you can support your claim confidently.
What Items Should I Throw Away After Water Damage?
You should throw away porous items soaked beyond 24–48 hours, plus mold growth, swollen drywall, insulation, and contaminated food. Keep salvage items only if you can clean, dry, and disinfect them safely.
How Long Does Water Damage Restoration Usually Take?
Usually, you’ll finish in 3–7 days; bigger losses can take weeks. Your restoration timeline depends on moisture levels, materials, and drying process. You’ll want technicians to monitor progress, because you’re not alone here.
Can I Stay in My Home During Water Damage Cleanup?
You can stay only if crews confirm safe conditions. Follow safety precautions, avoid contaminated areas, and use temporary relocation if mold, sewage, or electrical risks exist. You’ll protect your home and community by acting carefully.
What Supplies Should I Prepare Before Cleanup Starts?
You should prepare safety gear, absorbent towels, buckets, a wet/dry vacuum, fans, dehumidifiers, disinfectant, and mold prevention supplies. You’ll work safer, dry faster, and fit in with others following careful cleanup procedures.
Conclusion
If you act fast, you can limit damage and reduce health risks. Shut off the source, kill the power, and remove standing water before moisture spreads. Then dry, clean, and disinfect every affected surface, checking for hidden damp spots and mold. Use the right protective gear and keep an eye on air movement and humidity. When the damage is extensive or contaminated, call a pro so you don’t turn a small problem into a full-on disaster.