
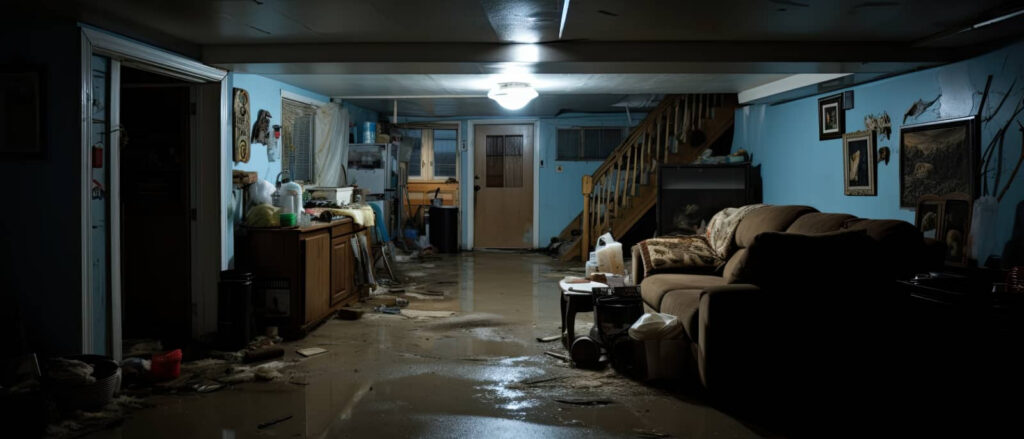
A tiny leak can quickly lead to mold after water damage. You need to stop the water source first, then dry the area with fans and dehumidifiers as quickly as possible. After that, inspect for visible growth and hidden moisture in drywall, carpet, and framing. Remove damaged materials carefully, clean hard surfaces with detergent, and keep humidity low so the problem doesn’t come back. The next step is where most people slip.
Key Takeaways
- Stop the leak, shut off water, and remove standing moisture quickly using towels, wet vacuums, pumps, fans, and dehumidifiers.
- Inspect damp areas for visible mold, discoloration, and hidden moisture in drywall, insulation, carpet backing, and trim.
- Wear PPE, isolate the area, and remove porous or swollen materials that cannot be safely dried and cleaned.
- Clean hard, nonporous surfaces with detergent and friction, then wipe dry and discard contaminated cleaning materials.
- Prevent recurrence by keeping humidity below 60%, drying spills within 24 hours, and checking for leaks or musty odors regularly.
Stop the Leak and Dry Fast
Stop the leak immediately, then dry the affected area as fast as possible to prevent mold from spreading. You should shut off the water supply, inspect visible plumbing, and use leak detection methods to find the source if it isn’t obvious.
Once you’ve controlled the water, remove standing moisture with towels, a wet vacuum, or pumps. Then set up fans and dehumidifiers, and keep air moving across wet surfaces.
Use drying techniques that match the material: dense materials need longer exposure, while porous items may need removal. Monitor humidity and surface dryness every few hours.
If you work methodically, you protect your space and help your household stay safe together. Don’t reintroduce moisture by delaying repairs or covering damp materials too soon.
Check for Mold After Water Damage
Once the area is dry, inspect every affected surface for visible mold, discoloration, and musty odor, because growth can begin within 24 to 48 hours after water damage.
You should check drywall, trim, insulation, carpet backing, and hidden edges where moisture lingers. Use a bright flashlight and a mirror to support mold detection in corners and behind fixtures.
Note the mold types you see, since green, black, white, or fuzzy colonies can signal different conditions. If you spot staining, softening, or repeat moisture, mark the area for follow-up.
Keep your team aligned by documenting each finding with photos, dates, and room locations. Move carefully, breathe normally, and avoid disturbing the surface so you can assess the extent before choosing the next remediation step.
Remove Damaged Materials Safely
Before you remove anything, isolate the affected area and put on the proper PPE, including gloves, eye protection, and an N95 or better respirator.
Then perform a quick mold assessment to confirm which materials are porous, swollen, or structurally weakened. You should remove drywall, insulation, carpet, and ceiling tiles that stayed wet long enough for mold to penetrate.
Cut or lift sections carefully to limit release of dust and spores, and keep debris in sealed bags or covered containers. Follow local material disposal rules, and label contaminated items so your team can handle them consistently.
Work methodically, and don’t leave compromised material in place; you’re protecting the space for everyone who’ll use it next. Use clean tools dedicated to this task.
Clean Up Mold Safely
With the damaged materials removed, clean all remaining hard, nonporous surfaces with a detergent solution and friction, working from the least contaminated areas toward the most contaminated ones.
You should scrub until visible residue is gone, then wipe with clean cloths and discard or launder them promptly.
Stay aware of mold types, because some patches spread more dust and spores than others.
Keep your work controlled so you don’t track contamination into clean rooms or onto tools your team shares.
If surfaces still show staining after cleaning, repeat the process rather than increasing force or using unapproved methods.
Respect health risks, especially if you notice strong odors, extensive growth, or symptoms during cleanup.
Keep children, pets, and anyone not assisting out of the area until you finish safely.
Prevent Mold After Repairs
After repairs are complete, keep the area dry by correcting leaks, improving ventilation, and maintaining indoor humidity below 60 percent.
You should inspect ceilings, walls, and subfloors weekly, because early moisture control helps you protect your home and everyone who shares it.
Follow these preventive measures:
- Run exhaust fans during showers and cooking, then vent them outdoors.
- Dry spills within 24 hours and use dehumidifiers in damp rooms.
- Check HVAC filters, caulk joints, and confirm drainage moves water away.
If you notice musty odors, staining, or soft materials, act fast and recheck hidden cavities.
Frequently Asked Questions
How Do I Know if Mold Is Inside My HVAC System?
You’ll know through HVAC inspection: look for visible growth, musty odors, and mold symptoms after system use. Check registers, drip pans, and ducts. If you’re unsure, hire a certified technician to confirm contamination.
Can Mold Return After Professional Remediation?
Yes, mold can return after professional remediation, like a shadow slipping back. You’ll need mold prevention strategies and post remediation inspections, because you belong in a dry, sealed, well-maintained space that resists recurrence.
Should I Test My Home for Mold Before Repairs Begin?
Yes, you should test your home before repairs begin. Use mold testing methods and a home inspection to identify hidden contamination, guide safe demolition, and protect your household. Acting early helps you keep everyone included and secure.
When Is Mold Damage Covered by Homeowners Insurance?
You’re usually covered only when a sudden, accidental event causes mold and you file timely insurance claims; gradual leaks, neglect, and maintenance issues often aren’t covered, so review your policy’s mold coverage carefully.
How Long Should I Stay Away During Mold Remediation?
You should stay away until the team clears the area—usually 24 to 72 hours. Ironically, the safest way to belong is to leave. Avoid mold exposure, watch for health symptoms, and follow containment procedures.
Summary
If you act fast, you can keep mold from taking over after water damage. One useful statistic: mold can begin growing in as little as 24 to 48 hours after materials get wet, so every hour matters. Stop the leak, dry the space, remove damaged porous materials, and clean hard surfaces thoroughly. Keep humidity low and inspect regularly. If you stay cautious and methodical, you’ll reduce health risks and prevent a small problem from becoming a costly one.