
You may not know that water damage keeps spreading long after the leak stops. After water leak cleanup, you need to check for hidden moisture, dry walls and cabinets fast, remove damaged materials, and disinfect every affected surface. Then inspect for mold and decide when a specialist should step in. The right sequence can prevent costly repairs, but one missed step can undo the rest.
Key Takeaways
- Shut off the leak source immediately and document the damage with photos for repairs and insurance.
- Inspect hidden areas for moisture, soft materials, staining, and early mold growth within 24 to 48 hours.
- Dry walls, floors, and cabinets quickly using fans, dehumidifiers, warmth, and daily moisture checks.
- Remove unsalvageable materials, then clean and disinfect hard surfaces with proper protective gear.
- Call a professional if drywall, insulation, or mold is involved to ensure safe, thorough remediation.
Stop the Leak First
Before you do anything else, stop the source of the water leak to prevent additional damage. Shut off the nearest valve, then close the main supply if you can’t isolate it quickly.
If a fixture, hose, or appliance keeps flowing, disconnect it safely and protect yourself from slips. You’re part of a team here, so communicate the shutoff location to everyone in the space.
Document the source with a quick photo, then call for emergency repairs if the line, fitting, or appliance has failed.
Use this moment to reinforce leak prevention: replace worn washers, tighten loose connections, and note any recurring pressure issues. Acting fast limits waste, reduces stress, and keeps your cleanup work focused.
Look for Hidden Water Damage
After cleanup, you should check behind walls and under floors for moisture that isn’t obvious at first glance.
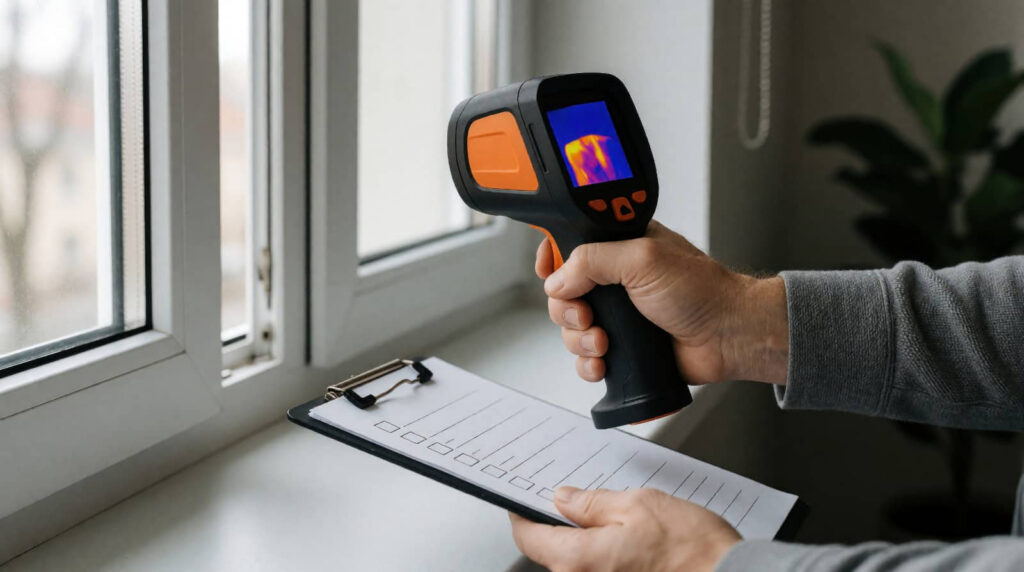
Use a moisture meter or inspect for soft spots, staining, and warped materials.
Watch for mold growth, since it can start quickly in hidden damp areas.
Check Behind Walls
Even when the visible water is gone, hidden moisture can remain behind drywall, baseboards, and trim. You need to check these areas with moisture detection tools, because trapped dampness can spread quietly and weaken finishes.
Run a meter along suspect seams, then compare readings from dry sections to affected spots. If you notice soft spots, staining, bubbling paint, or a musty odor, open a small inspection point so you can verify the condition of the wall insulation and framing.
Keep the area ventilated, and mark every problem area for drying or repair. You’re not just protecting materials; you’re protecting your home’s comfort and your crew’s confidence in the cleanup.
If readings stay elevated, keep monitoring until the wall is truly dry and stable.
Inspect Under Floors
Once the visible cleanup is done, you should inspect under floors for hidden water damage that can linger in subfloors, joists, and underlayment.
Lift access panels, remove small sections of trim if needed, and use a moisture meter to check for subfloor moisture at seams, edges, and low spots.
Feel for soft, swollen, or uneven areas that may signal trapped water. If your system has floor insulation, check it for dampness and compression, since wet insulation can hold moisture against framing.
You should also look for staining, rusted fasteners, and warped panels.
In a close-knit home team, everyone benefits when you document findings and dry affected materials fast.
If readings stay elevated, keep the area open and ventilated until it returns to normal.
Watch For Mold
Watch for mold because hidden moisture can start growth within 24 to 48 hours after a leak. Check baseboards, drywall seams, insulation, and the underside of cabinets for discoloration, musty odor, or soft spots.
If you spot these signs, dry the area fast and remove damaged materials that won’t recover. Use fans, dehumidifiers, and ventilation to lower humidity and support mold prevention.
Don’t paint over stains or seal damp surfaces; you’ll trap moisture and raise health risks. Wear gloves and a mask when you inspect tight spaces, and keep kids and pets away until you’re sure the area’s safe.
If growth covers a large area, call a remediation pro so your home stays healthy and your crew stays protected.
Dry Walls, Floors, and Cabinets
Start drying walls, floors, and cabinets immediately to limit hidden moisture and prevent mold growth. You should open doors, pull back cabinet contents, and run fans so air moves across wet surfaces.
Use dehumidifiers to lower humidity and speed evaporation. For drywall, aim airflow at both sides when possible; for floors, dry seams and edges first, then the center.
Check moisture measurement readings daily so you know which spots still need attention. Rotate drying techniques to reach trapped water in corners, toe kicks, and baseboards.
Keep the space warm but not overheated, and maintain steady ventilation. When surfaces feel dry, confirm with a meter before you relax.
Your quick, disciplined response helps your team protect the home and restore normal life.
Remove Damaged Materials
Pull out damaged materials that can’t be dried or sanitized, including soaked drywall, swollen baseboards, warped flooring, insulation, and contaminated carpet padding.
You’ll protect the rest of the room by removing these items fast and in sections. Use controlled removal techniques: score seams, cut debris into manageable pieces, and bag or stack waste as you go.
Wear gloves, eye protection, and a respirator if dust is present. Keep pathways clear so your team can move safely and stay organized.
Inspect hidden cavities after each removal to confirm no damp, weakened material remains. If you spot rusted fasteners or crumbling framing, stop and document it for repair.
Staying methodical now helps your crew work like a unit and keeps the cleanup on track.
Clean and Disinfect Surfaces
Once the area is clear, wipe all remaining hard surfaces with a detergent solution to remove dirt, residue, and any visible contamination. Rinse as needed, then apply effective disinfectants per label directions, so you meet contact time and coverage requirements.
Use sanitizing techniques that match the surface and follow product safety data. Work methodically so you and your household keep a clean, healthy space.
- Wear gloves and eye protection.
- Use fresh solution for each area.
- Clean top to bottom.
- Let surfaces stay wet for the full dwell time.
- Wipe dry only after disinfection finishes.
Focus on counters, shelves, baseboards, and fixtures. Avoid mixing chemicals, and ventilate the room while you work.
Inspect for Mold Growth
After cleanup, inspect hidden areas like behind baseboards, under flooring, and inside wall cavities for mold growth.
Look for early warning signs such as musty odors, discoloration, or soft, damp materials.
If you spot any of these issues, address them quickly to limit spread and prevent further damage.
Hidden Mold Check
Even when visible water is gone, you still need to check for hidden mold in damp, enclosed areas. You’ll protect your space best when you inspect carefully and act fast.
- Lift baseboards and check behind them.
- Open cabinets, closets, and wall cavities.
- Use a flashlight for dark corners.
- Feel for cool, damp surfaces.
- Confirm humidity control with a hygrometer.
If you spot discoloration, musty residue, or soft materials, treat the area as contaminated and keep it isolated.
Good mold prevention tips start with drying every layer, not just the surface. You belong in a home that stays healthy, so verify framing, insulation, and subfloors after cleanup.
When conditions stay dry, mold can’t keep spreading, and you can move forward with confidence.
Early Warning Signs
Check for early warning signs of mold growth by inspecting any area that stayed wet for more than 24 to 48 hours. You should look behind baseboards, under flooring, inside cabinets, and around HVAC vents where water damage can hide.
Use a bright flashlight and your nose; musty odors often appear before visible spots. During leak detection, note discoloration, peeling paint, warped materials, or soft drywall, since these signal moisture retention.
If you see fuzzy patches, streaks, or black specks, isolate the area and document it. Keep the room dry with ventilation and dehumidification while you monitor changes.
If growth expands, contact a remediation pro quickly. Acting early helps protect your space and keeps your home community safe from deeper contamination.
When to Call a Mold Expert
If you still notice a musty odor, visible growth, or recurring dampness after cleanup, it’s time to call a mold expert. You’re not overreacting; you’re protecting your space and everyone in it.
A professional assessment can confirm hidden moisture, identify the species, and define the cleanup scope. Ask for:
- wall and subfloor moisture readings
- air sampling when needed
- containment for affected areas
- removal plans for porous materials
- mold prevention techniques for future control
Call sooner if the leak hit drywall, insulation, HVAC, or large areas.
If anyone in your home has allergies, asthma, or immune concerns, don’t wait. Fast action reduces spread, lowers repair costs, and helps you get back to a safe, familiar place.
Frequently Asked Questions
How Soon Should I File an Insurance Claim After Cleanup?
File your claim immediately after cleanup, ideally within 24 hours, so you start the claim process fast. You’ll document damage better, support leak prevention, and keep your coverage team aligned with your recovery timeline.
Can I Safely Use My HVAC System After a Water Leak?
You can use your HVAC system only after a moisture assessment confirms dry ducts, insulation, and components. You’ll protect HVAC safety by checking for mold, debris, and electrical damage before restarting.
What Items Should I Photograph for Insurance Documentation?
Photograph warped floors, stained drywall, soaked insulation, ruined furniture, appliances, and visible mold; in one basement leak, these images sped your insurance claim and damage assessment. Capture serial numbers, labels, wide shots, and close-ups.
How Long Does It Take for Hidden Moisture to Cause Damage?
Hidden moisture can start damage within 24 to 48 hours, so you should act fast. Use moisture detection tools and conduct damage assessment early; you’ll protect your space, reduce repairs, and stay supported.
Should I Replace Electrical Outlets Exposed to Water?
Yes—replace outlets exposed to water; many electrical failures stem from moisture. You’ll improve outlet safety by shutting power off, then getting a licensed electrician to do a moisture assessment and swap damaged components.
Conclusion
Once you’ve stopped the leak and cleaned up, don’t assume the job’s done—hidden moisture can turn a small problem into a full-blown disaster fast. You need to dry every surface, remove damaged materials, disinfect thoroughly, and keep checking for mold like a hawk. If anything still feels damp, smells musty, or looks stained, call a mold expert right away. Acting quickly now can save your home from massive repair costs and serious health risks.