When floodwater hits, you need to remove standing water fast and then control drying with air movers and dehumidifiers. You’ll also need to track moisture in walls, floors, and hidden cavities so you can verify the structure is actually drying, not just the surface. If you skip these steps, trapped moisture can keep damaging materials long after the water is gone, and the next stage matters more than you might expect.
Key Takeaways
- Remove all standing water immediately using pumps or extractors before starting any structural drying.
- Set air movers and dehumidifiers to speed evaporation and control indoor humidity.
- Place air movers at 45-degree angles to walls for effective airflow across wet surfaces.
- Measure moisture with meters and hygrometers to track drying progress and identify problem areas.
- Dry quickly and thoroughly to prevent warping, swelling, and mold growth in building materials.
How Structural Drying Works
Structural drying works by removing moisture from building materials and controlling the environment so remaining water can evaporate efficiently.
You use targeted drying techniques to restore wet walls, floors, and framing after flood damage. Your team monitors moisture control with meters, hygrometers, and temperature checks, then adjusts airflow, dehumidification, and heat to speed evaporation.
This restoration process protects materials from warping, swelling, and microbial growth while helping your property return to normal. You stay involved by tracking readings, asking for updates, and confirming each affected area reaches acceptable drying goals.
When you understand how structural drying works, you can move through cleanup with confidence, knowing your crew is using proven methods to bring your space back.
Remove Standing Water First
Start by pumping out or extracting all standing water before you focus on drying the structure itself. You’ll reduce flood damage faster when you remove bulk water from floors, cavities, and trapped spaces right away.
Use water extraction equipment suited to the surface, and work methodically from the deepest areas toward exits so you don’t spread contamination. Check under baseplates, inside wall voids, and around trim where water hides.
If you leave pooled water in place, materials absorb more moisture and deterioration accelerates. In a professional cleanup, you’re part of a team that values speed, accuracy, and shared standards, so verify that visible water is gone before you move on.
Thorough extraction sets the stage for a controlled, effective drying process.
Set Up Air Movers and Dehumidifiers
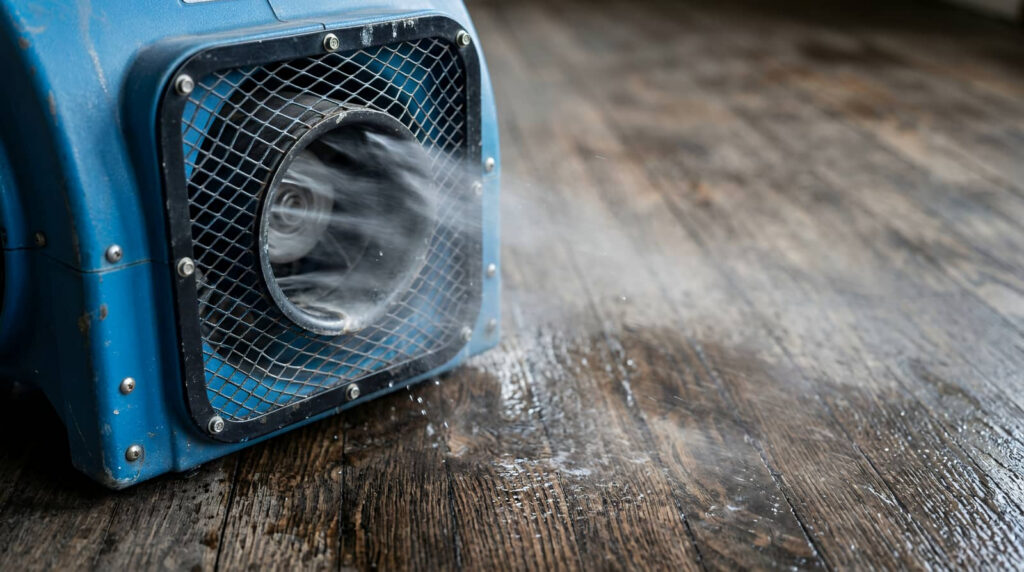
Once standing water is gone, position air movers to create rapid surface evaporation and place dehumidifiers to pull moisture out of the air and materials. You’ll work as a team, so map airflow before you plug in equipment.
Choose air mover types that match the room: axial units push volume across open areas, while low-profile centrifugal models target tight spaces and baseboards.
- Set each air mover at 45 degrees to the wall.
- Space units so their streams overlap without dead zones.
- Use dehumidifier placement near the wettest zone, but keep intake and exhaust clear.
- Route cords safely and seal the room to hold the drying load.
Check temperature and humidity regularly. Adjust equipment if surfaces stay cool or stagnant, and keep the setup running until the structure feels uniformly dry.
Measure Moisture In Walls And Floors
With the drying equipment running, you need moisture readings to verify what’s actually happening inside walls and floors. You use moisture meters on exposed drywall, baseboards, and subfloors to build a baseline, then compare each new reading against dry standards from unaffected areas.
Check high and low points, since wet materials don’t dry evenly. Place wall sensors in cavities when access lets you track hidden moisture without guessing. Record every reading by room, height, and material so your team can spot trends fast.
If numbers stall, adjust airflow, dehumidification, or containment right away. You’re not just taking measurements; you’re proving the structure is responding. That shared data keeps everyone aligned and confident as the dry-out moves forward.
How Drying Prevents Mold Growth
Rapid drying cuts off the moisture mold needs to colonize wet building materials. You protect your space by lowering surface and core moisture fast, before spores can anchor and spread.
Effective drying techniques create conditions mold can’t exploit, so you keep restoration on track and your home safer for everyone involved.
- Remove standing water immediately.
- Increase air movement across wet surfaces.
- Dehumidify until materials reach target moisture levels.
- Verify progress with meters, not guesswork.
When you follow these steps, mold prevention becomes a controlled process, not a gamble. You also reduce odors, staining, and secondary damage.
Stay consistent, because every hour of drying strengthens your defense and helps your team restore a clean, healthy structure.
Frequently Asked Questions
How Soon Should a Professional Start Drying After Floodwater Intrusion?
You should start drying within 24 to 48 hours after floodwater intrusion. Your flood response team should deploy drying techniques immediately, because moisture spreads fast, and quick action protects your property and your crew.
Can Structural Drying Save Hardwood Floors After Flooding?
Yes, you can save hardwood floors with rapid drying techniques, hardwood restoration, and controlled dehumidification. You’ll need immediate assessment, moisture mapping, and expert intervention, because delayed action often means cupping, staining, or irreversible board loss.
What Certifications Should a Structural Drying Technician Have?
You should look for IICRC certification types like WRT, ASD, and AMRT, plus technician training in moisture mapping, psychrometrics, and equipment setup. These credentials show you’re hiring a skilled team that fits your standards.
How Long Does a Full Professional Drying Process Usually Take?
Usually, you’ll need 3–5 days, though factors affecting duration like material type and saturation matter. With strong drying equipment efficiency, you can speed results, monitor readings closely, and feel confident your space’s drying’s on track.
Will Flood Damage Be Covered by Insurance During Drying?
Insurance policies often cover flood damage during drying if you’ve purchased flood coverage, but exclusions vary. You should verify your policy, document losses, and coordinate with your insurer so you stay protected and connected.
Review
You’ve seen the process: remove standing water, place air movers and dehumidifiers, and verify moisture levels in walls and floors. When you dry a structure methodically, you don’t just reduce dampness—you stop decay before it starts. Isn’t that the difference between cleanup and restoration? By keeping moisture under control, you limit mold growth, protect materials, and speed recovery. Follow the sequence, monitor continuously, and you’ll restore the building efficiently and safely.