
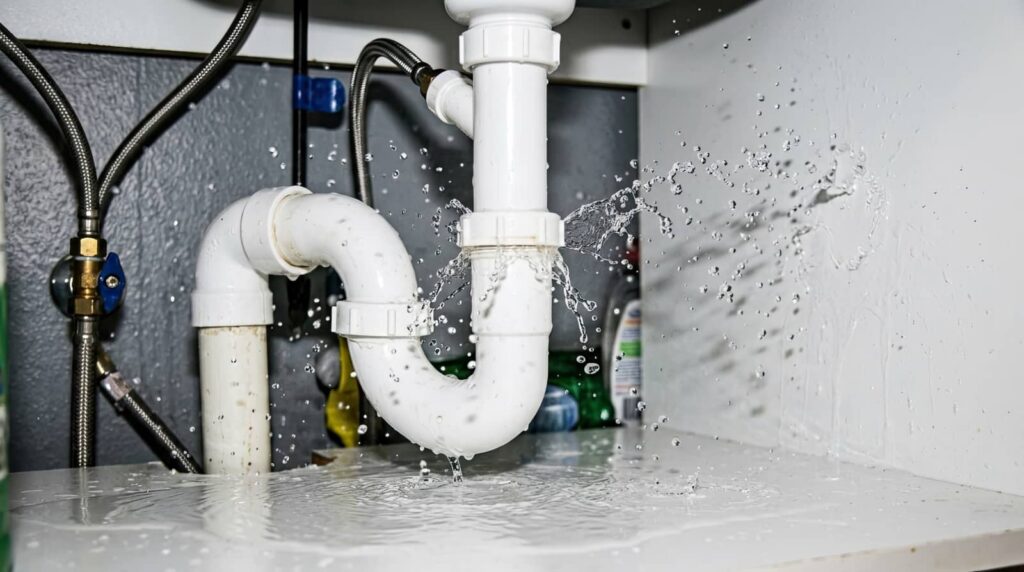
If a pipe bursts under your kitchen sink at 2 a.m., you may have only minutes to limit Burst Pipe Water Damage. Start by shutting off the water and power, removing standing water, and documenting the affected areas before drying begins. However, hidden moisture can continue spreading behind walls, under floors, and inside cabinets, creating the risk of mold and structural damage. Acting quickly and addressing moisture thoroughly can help prevent a small plumbing emergency from becoming a much larger repair.
Key Takeaways
- Shut off the main water supply and electricity safely to stop further flooding and reduce electrical hazards.
- Remove standing water quickly with pumps or wet vacuums to limit damage and mold growth.
- Document all visible damage with photos and notes before cleanup for insurance claims.
- Dry walls, floors, and insulation thoroughly using fans, dehumidifiers, and moisture meters.
- Call a professional restoration company for extensive damage, hidden moisture, or suspected mold.
Shut Off Water and Power Fast
If water is still flowing, shut off the main supply immediately to stop further damage, then cut power to the affected area if it’s safe to do so.
You need to know your home’s water shutoff methods before an emergency, so you can move fast and protect your space. Find the main valve, then turn it clockwise until it stops. If you can’t reach it, use the curb stop or contact your utility.
Follow basic power safety tips: never touch wet outlets, appliances, or breaker panels, and don’t stand in pooled water. If you smell gas or see sparks, leave and call help.
Acting quickly helps you stay in control and keeps your household safer while you wait for restoration support.
Remove Standing Water Right Away
Remove standing water immediately with pumps, wet vacuums, or extraction equipment to limit absorption into floors and walls.
The faster you remove it, the less chance you’ve got of swelling, warping, and mold growth. Quick extraction also helps protect structural materials from long-term damage.
Immediate Water Extraction
Standing water can start soaking into floors, walls, and subfloors within minutes, so you need to extract it as soon as possible. Act fast with a clear emergency response: shut off the source, then deploy pumps, wet vacs, or truck-mounted extraction units based on water volume and access.
Your equipment selection should match the job, because the right tool removes more water in less time and reduces repeat passes. Stay organized, work from the perimeter inward, and keep the area safe for your team.
- Confirm the water source is controlled before you start.
- Choose extraction tools that fit the surface and depth.
- Empty and reposition equipment before suction drops.
- Recheck low spots until no visible water remains.
Prevent Structural Damage
Once you’ve stopped the leak, get the water out quickly to protect framing, drywall, subfloors, and finish materials from swelling, warping, and mold growth.
Use pumps, wet vacs, and squeegees to clear pooled water, then lift baseboards and remove soaked carpet padding so hidden moisture can’t spread.
Check joists, sill plates, and wall cavities for saturation, and run fans and dehumidifiers to speed drying.
If water reached electrical runs or load-bearing members, call a pro right away.
Protect your home team by documenting damage and keeping everyone clear of slippery areas.
After cleanup, inspect pipe insulation and update your emergency plan so you’re ready next time.
Quick action helps your space recover faster and keeps your home solid, dry, and safe.
Document the Water Damage
Take clear photos of all visible damage before you move or clean anything, including floors, walls, baseboards, and contents.
Note every affected area and record what materials were wet, since that detail can support insurance claims and guide repairs.
Keep your documentation organized and time-stamped so you can track the full extent of the damage.
Capture Damage Photos
Before cleanup begins, capture clear photos and video of every affected area, including standing water, damaged walls, flooring, furniture, and visible stains. Use steady, well-lit shots, and keep each image in photo organization folders by room and timestamp. This gives you a reliable damage assessment for insurance, contractors, and your own records.
- Shoot wide views first, then close-ups.
- Include moisture meters or utility items if they show extent.
- Keep filenames specific so you can find them fast.
- Back up files to cloud storage right away.
You’re not just saving pictures—you’re building proof that helps your restoration team understand the loss and act with confidence.
Note Affected Areas
Walk each room and note every affected area, from soaked drywall and warped floors to swollen trim, stained ceilings, and damp insulation. Record the room name, material type, visible damage, and moisture level if you have a meter.
This log helps you identify leak sources and assess damage extent before repairs begin. Note hidden trouble too: baseboards, subfloors, cabinet bottoms, outlets, and insulation near the pipe run.
Mark where water traveled, since migration often reaches farther than the initial puddle. Use a notebook, phone app, or spreadsheet, and date each entry.
Share your list with your restoration team so they can prioritize drying, removal, and cleanup. Clear notes keep your response organized, reduce missed damage, and help you stay in control.
Dry Walls, Floors, and Insulation Thoroughly
Once the standing water is gone, you need to dry walls, floors, and insulation as quickly as possible to prevent mold, warping, and hidden structural damage.
Focus on moisture control by opening cavities, removing wet baseboards, and pulling damp insulation where it can’t recover. Use drying techniques like high-velocity air movers, dehumidifiers, and controlled ventilation to speed evaporation without spreading damp air.
Check framing, subfloors, and wall sheathing with a moisture meter until readings return to normal.
- Aim airflow into concealed spaces.
- Keep indoor humidity low.
- Replace insulation that stays saturated.
- Recheck materials after 24 hours.
You’re part of a smart recovery team when you dry thoroughly and verify progress.
Clean and Sanitize Affected Surfaces
Scrub and disinfect all flood-affected surfaces as soon as they’re dry enough to clean, using the right product for the material and contamination level. You’ll protect your space and help everyone feel comfortable again.
Gather cleaning supplies like buckets, microfiber cloths, detergent, and EPA-registered disinfectant. Work from the cleanest area to the dirtiest, changing water and cloths often so you don’t spread residue.
Use sanitizing techniques that match each surface: wipe hard, nonporous items with the required contact time, then let them air-dry. For painted walls, sealed tile, counters, and appliances, avoid excess moisture and harsh abrasion.
On porous materials, clean only if they can be safely restored. Wear gloves and a mask, ventilate the area, and dispose of contaminated debris promptly.
Check for Mold in Hidden Areas
Even after visible water is gone, you’ll need to inspect hidden spaces for mold growth. Check behind baseboards, under flooring, inside cabinets, and around insulation where moisture lingers. Use a flashlight and your nose; musty odor often signals active mold growth before you see it. If you spot discoloration, soft drywall, or warped trim, mark the area and monitor it closely.
- Pull back carpet edges and padding.
- Open access panels and look inside wall cavities.
- Remove stored items from damp closets.
- Record any recurring moisture in hidden spaces.
You’re not overreacting by checking these spots; you’re protecting your home and your people.
Drying the obvious area isn’t enough if trapped moisture remains. Stay methodical, and you’ll catch problems early.
Call a Water Damage Restoration Pro
If the damage is widespread, the source is uncertain, or you’ve found mold, call a water damage restoration pro right away. You’ll get trained help to stop hidden moisture, document the loss, and protect your structure before rot spreads.
A good crew uses thermal cameras, moisture meters, and extraction equipment to map damage fast. Keep your emergency contacts handy so you can reach a plumber, insurer, and restoration team without delay.
Ask for photos, drying logs, and written estimates; those records support insurance claims and speed approvals. By bringing in a pro, you’re joining a process built for safety, accountability, and recovery.
Don’t keep guessing when the stakes are high; let experts restore your home with precision and care.
Frequently Asked Questions
How Do I Prevent Burst Pipes During Freezing Weather?
You prevent burst pipes by adding pipe insulation, sealing drafts, and keeping indoor temperatures steady during winter preparations. Open cabinet doors, drip faucets, and shut off exterior water lines when freezing weather hits.
What Insurance Usually Covers Burst Pipe Damage?
You’ll usually rely on homeowners insurance, which often covers sudden water damage from burst pipes, subject to coverage limits. You should document losses, review exclusions, and keep up pipe maintenance to strengthen claims and fit in confidently.
Can I Stay in My Home After a Pipe Bursts?
You can stay if you’ve shut off water, electricity, and fixed hazards, but only after checking emergency procedures and safety precautions. If ceilings sag, walls warp, or mold spreads, you shouldn’t remain.
How Long Does Burst Pipe Restoration Usually Take?
You’ll usually need 3-7 days, though severe damage can take longer. Your restoration timeline depends on water saturation, materials, and repairs. Fast emergency response helps you return safely and feel supported through each step.
Which Pipes Are Most Likely to Burst?
You’ll find older galvanized steel, corroded copper, and brittle PVC pipes burst most often. Temperature fluctuations, water pressure spikes, and poor seasonal maintenance raise risk; choose durable pipe materials, inspect joints, and protect vulnerable runs.
Recap
When a pipe bursts, you’ve got to move fast—every minute can turn a small leak into a flood of trouble. Shut off water and power, pull out standing water, dry everything thoroughly, and sanitize the space before mold gets a foothold. Don’t skip hidden areas or documentation. If the damage looks deep, call a pro. Treat your home like a sinking ship, and you’ll keep the repair bill from capsizing your budget.