
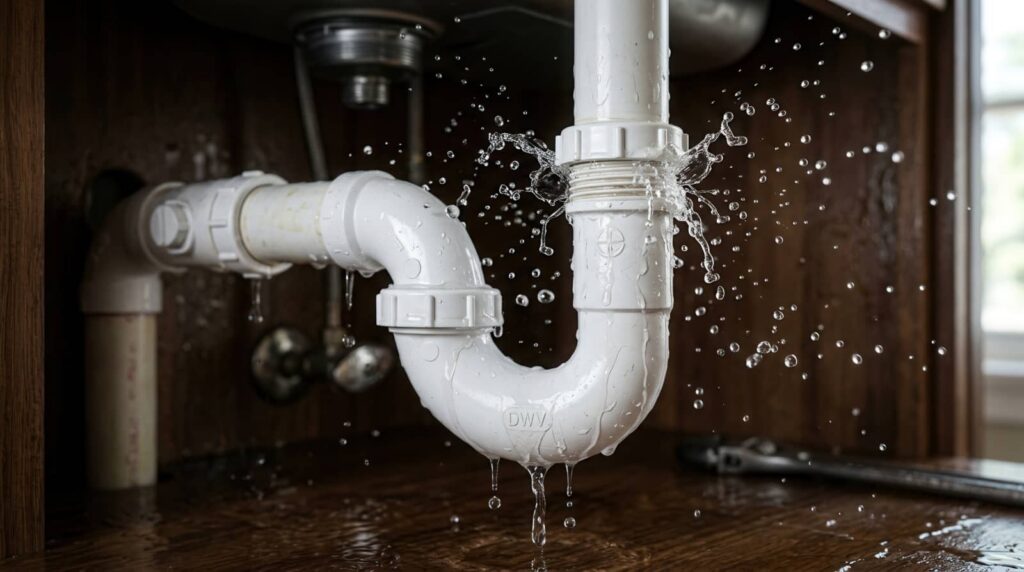
Could shutting off the water quickly really be the difference between a minor mess and major damage? Burst Pipe Cleanup starts with safety and stopping the water source, followed by inspecting the affected area, removing standing water, and thoroughly drying everything before hidden moisture spreads. From there, you’ll want to save salvageable items, disinfect surfaces, check for mold, and address any necessary repairs. Each step matters, and missing one can turn a simple cleanup into a longer, more costly restoration job.
Key Takeaways
- Shut off the main water and electricity, then document the damage and protect safety with gloves, boots, and eye protection.
- Remove standing water quickly using pumps or a wet vac, then open windows and use fans and dehumidifiers to dry affected areas.
- Inspect hidden moisture in walls, floors, insulation, and cabinets, and remove materials that are warped, soaked, or structurally compromised.
- Clean and disinfect all affected surfaces with approved products, focusing on high-touch areas and disposing of contaminated materials safely.
- Repair the burst pipe, replace damaged insulation and finishes, then test for leaks and confirm the area is fully safe before reinstallation.
Shut Off Water and Check Safety
First, shut off the main water supply to stop the leak from spreading, then cut power to the affected area if water is near outlets, appliances, or wiring.
Next, open the lowest faucet to relieve water pressure and help drain the line.
Put on safety gear before you enter the wet area: gloves, boots, and eye protection reduce slip and splash risks.
Stay with your household team, keep children and pets away, and avoid standing in pooled water.
If you smell gas, hear electrical arcing, or can’t find the shutoff valve, leave the area and call a licensed professional.
Confirm the valve is closed, then monitor for continued flow.
Quick, calm action protects your space and helps everyone stay safe together.
Inspect the Damage
Inspect the visible damage first, noting soaked walls, flooring, insulation, and any warped materials.
Then check for hidden moisture behind baseboards, inside cavities, and under cabinets with a moisture meter or infrared tool.
Document all affected areas so you can plan drying and repairs correctly.
Assess Visible Damage
Before you start cleanup, assess the visible damage so you can determine what needs immediate attention.
Walk the area methodically and note warped flooring, stained drywall, pooled water, and damaged trim. Photograph each affected surface from several angles so you can document conditions for insurance coverage and support emergency preparedness.
Mark rooms and materials that are clearly compromised, and separate salvageable items from those that need removal. Shut off power to affected zones if water has reached outlets or appliances, and avoid moving structural materials until you’ve recorded them.
Work with your household or crew as a team, using clear labels and notes to keep everyone aligned. This quick assessment helps you act with confidence and stay organized from the start.
Check Hidden Moisture
Even when the surface looks dry, water can linger inside walls, under flooring, and behind baseboards.
You need to check hidden moisture before you start repairs, because trapped water can fuel mold and weaken materials. Use moisture detection tools, like a meter or infrared camera, to scan suspect areas.
Probe around the burst pipe, wall cavities, trim, and any swollen flooring. Listen for soft spots and watch for staining, peeling paint, or warped panels.
If you find hidden leaks, mark the area and dry it with dehumidifiers and air movement. Don’t close up walls until readings drop to normal.
Remove Standing Water Fast
You need to pump out standing water as soon as you can to stop it from soaking deeper into floors and walls.
Use a sump pump or transfer pump for large volumes, then switch to wet vacuums for residual water in tight areas.
Keep removing water until surfaces are no longer pooling and can start drying.
Pump Out Flood Water
Start pumping out standing water as soon as it’s safe to enter the area. Set the pump intake in the deepest section first, then move it as the level drops. Use a pump sized for the volume you’re facing, and keep discharge hoses routed outside and downhill from the structure.
Watch for shifting debris, and clear clog points before flow slows. If you’re managing this yourself, work methodically so your team stays coordinated and the space stays safer. Fast water extraction supports flood prevention by reducing saturation, limiting spread to adjacent rooms, and giving you control before materials degrade further.
Check the pump frequently, maintain steady output, and stop only when you’ve removed the bulk of the floodwater and can inspect hidden wet zones.
Use Wet Vacuums
Use a wet vacuum to pull out shallow standing water quickly after the main pump has removed the bulk of the flood. You’ll make faster progress by working edge to center, keeping the nozzle flat, and emptying the tank before it overflows.
These vacuuming techniques help you protect subfloors, reduce slip risk, and speed drying in the room. Focus on corners, under cabinets, and along baseboards where water hides.
The wet vacuums benefits include precise pickup, easy maneuvering, and less residue left behind for mold to feed on. Wear gloves and boots, and move methodically so you don’t miss pockets of water.
When your team works together, you’ll finish cleanup cleaner, safer, and with less stress.
Dry Walls, Floors, and Cabinets
Open windows and run fans or dehumidifiers to pull moisture from walls, floors, and cabinet interiors as quickly as possible.
Use drying techniques that move air across surfaces, not just around the room, and keep equipment running until materials feel dry and stable.
Remove baseboard trim only if needed to expose trapped moisture.
Check drywall, subfloors, and cabinet backs with a moisture meter; stop when readings match unaffected areas.
Protect nearby finishes with temporary moisture barriers if wet air is spreading.
Keep doors, drawers, and cabinet panels open so airflow reaches hidden cavities.
Inspect daily for warping, softness, or musty odor, and adjust your setup fast.
You’re not just drying a space—you’re helping your home recover safely and staying part of a crew that knows the drill.
Save Wet Belongings
As the structure dries, move quickly to save wet belongings before stains, swelling, and mold set in. Start by prioritizing belongings: documents, electronics, photos, textiles, and anything with sentimental value.
Move each item to a dry, ventilated space, and separate damaged pieces from salvage items. Remove batteries, unplug devices, and keep cords away from moisture.
For papers and books, fan pages and stand them upright on absorbent towels. Lift rugs, cushions, and bedding so air can circulate.
Bag small loose items together, label them, and record what you’ve saved for your insurance claim. Work with gloves and clean hands to avoid transfer.
If an item feels unsafe or heavily soaked, set it aside for professional assessment, not guesswork.
Clean and Disinfect Surfaces
Once standing water is gone and surfaces are stable, you can start cleaning and disinfecting to reduce contamination and odor.
Wear gloves, eye protection, and a mask, then remove dirt with soap, warm water, and approved cleaning products. Work from top to bottom so debris doesn’t spread. Rinse hard surfaces, then apply disinfecting techniques, following label contact times exactly.
Keep rooms ventilated and replace cloths or mop heads when they’re dirty. For porous items you kept, clean only if the material can be safely washed and fully dried. Sanitize high-touch areas like handles, switches, and counters.
If you’re part of a shared home or team cleanup, divide tasks so everyone stays protected and the space gets handled thoroughly. Dispose of used materials in sealed bags.
Check for Mold After Cleanup
After cleanup, inspect for mold within 24 to 48 hours, especially in damp, hidden, or poorly ventilated areas.
Check baseboards, drywall edges, insulation, under sinks, and behind furniture.
Look for discoloration, musty odors, fuzzy spots, or warped materials.
If you spot mold growth, isolate the area and avoid disturbing it, since spores can spread quickly.
Wear gloves and an N95 mask while you evaluate affected surfaces.
Document findings with photos so you can track changes and share them with your remediation team.
Keep humidity low and use fans or dehumidifiers if needed.
Don’t ignore small patches; they can signal larger moisture problems and health risks for your household.
You’re taking the right next step by confirming the space’s safety.
Repair Pipe Damage and Restore the Area
Now that the area is dry and checked for mold, you can repair the pipe damage and begin restoring the space.
Shut off the water, cut out the damaged section, and install replacement fittings or pipe as needed. Use approved sealants, tighten connections, and pressure-test the line before you close the wall.
If the burst damaged pipe insulation, replace it to prevent future condensation and heat loss.
Inspect surrounding materials for water damage, then remove warped drywall, soaked trim, or compromised flooring.
Patch surfaces, sand seams, and repaint to match the room.
Reinstall fixtures and confirm drainage, flow, and no leaks.
You’ve handled the core repair; now you can bring the area back to a safe, familiar condition.
Frequently Asked Questions
How Much Does Burst Pipe Cleanup Usually Cost?
You’ll usually pay $500–$5,000 for burst pipe cleanup, depending on cost factors like water volume, damage extent, and drying needs. DIY cleanup can cut expenses, but you’ll need fast action and proper equipment.
Will My Homeowner’s Insurance Cover Burst Pipe Damage?
Usually, yes, but not always: your homeowner’s insurance policy often covers sudden burst-pipe damage, while negligence may’t. You’ll need to document losses, file the claims process promptly, and work with your insurer’s requirements.
Can I Stay in My House During Cleanup?
You can stay only if cleanup’s minor and you follow safety precautions. If water reached wiring, drywall, or mold-prone areas, leave for temporary relocation. You’ll protect your home and stay connected with your crew.
How Long Does Burst Pipe Cleanup Typically Take?
Cleanup duration usually takes 1–3 days for minor damage, while a full restoration timeline can stretch 1–2 weeks. You’ll move faster if you act quickly, dry materials thoroughly, and document losses early.
Should I Hire a Professional Water Damage Restoration Company?
Yes—you should hire a professional water damage restoration company if you see Warning signs like hidden moisture or mold. DIY cleanup tips help with small spills, but pros use drying equipment and protect your home.
Summary
By acting fast, you can turn a burst pipe disaster into a manageable cleanup instead of a full-blown flood nightmare. You shut off the water, clear standing water, dry every surface, and disinfect like a pro. Then you check for mold, repair the pipe, and restore the space. When you follow these steps, you don’t just clean up the mess—you stop hidden damage from snowballing into a costly, lingering problem.